It's been nearly a whole year since I wrote in my blog, and I'd nearly given it up for a goner. Instagram and facebook has taken it's place, and since I mostly use this place to share my creative endeavors, I have resorted to using those more photo oriented sharing places.
However, as time has gone on, I realized there were things about this little space I'd carved out that I missed: a place where I could write about being a mother, share ideas on ways we'd found worked in our marriage, tell everyone about an awesome new book or recipe I'd discovered, and record truths I wanted to be able to go back and remind myself of.
So... I'm back. I'm not sure how frequently I will post, but I will. It's time. And I'm ready.
XOXO,
V
Showing posts with label home. Show all posts
1.22.2015
Beginning again.
Labels:
faith,
family,
home,
inspiration,
pictures
6.03.2013
Plastic Little Tikes Easel Makeover!
Ariana asked me a couple of weeks ago if she could be "a real painted with one of those standing up things," so when we spotted this little plastic easel at a yard sale for $1, we snatched it up.
I wasn't thrilled with the primary colors and wondered if I could just spray paint it... and yes.
Yes I could!
I started off with a spray paint primer made for plastic.
I grabbed two colors from my paint collection- a rick turquoise and a happy watermelon.
It was a pretty fast project and we love the results. It looks super cute on my porch and way better than the primary colors! (The watermelon reads more red in these photos than it actually is.)
Super easy and fun project! And now Ariana can be a "real artist." ;)
Labels:
craft ideas,
home
4.15.2013
Thoughts on Room Sharing with Three Sisters
I've mentioned our home here a time or two ;) - we live in an old Southern house, built in 1924. I love its screened in front porch, the tongue-in-groove walls, the big old wooden doors. It's got an interesting layout... but what I don't particular love is the way the rooms are portioned off. I am grateful for our home. And I believe that small homes create close families.
Right?
Sometimes teaching that philosophy doesn't go over so well with my kiddos. Especially my three girlies who share a room. As we discover in the world pretty quickly, not everyone is like us! My three girls are no exception. I have a super tidy, neat, minimalist daughter, who likes a place for everything and everything in its place. I have a magpie daughter, who gathers up tiny bits of paper and everything is sentimental to her. And I have a silly three year old, whose personality lends itself to chattering into the night and snuggling up close to whoever is her favorite at the moment.
Providing space for all of them to flourish and for them to learn to get along and respect each other is challenging, to say the least. I'm a "researcher" by nature (I get it from my sweet Grams)- I like to look up how other people have done things, read about different strategies, and learn from others' trials and errors. I have discovered that in looking up info on the WWW about siblings sharing rooms, most of what I can find is either super functional or super extravagant. There's not much middle man out there.
So this post is for you, whoever you might be, looking for cute but affordable rooms for little girls that are sharing the space. :) You're not alone!
This is the girls' closet. It's the one room in the house with a big closet. The right side of it has a closet bar hanging from the other bar, so we have two rows of clothes: one for my big girl and one for the two little girls. We also have hanging shoe storage on that side. The left side has a three drawer plastic cart with pjs in it, and a basket of socks on the top. Storage for sleeping bags, swim stuff, and other odds and ends is on the left. On the top shelf, I have a rubbermaid bin for each girl with clothes for the next season in it.
The shelves are backed with wrapping paper. Each girl has her own shelf, and the two big girls also have a bin on the very bottom. Ariana (the littlest) doesn't really care so much about that yet, so all of her stuff is consolidated to one shelf.
This is our real life, not magazine-worthy sleep situation at the moment. I can't tell you how many times the girls have traded spots, so who knows how long this current arrangement will last! The top bunk is Emerson's (my oldest). She gets really frustrated when her bed gets messy, so I suggested she move up top so no one would mess with her bed. It's working for now! The butterflies were cut with my Silhouette machine.
The bottom bunk is currently being shared (SHARED!!) by the two little girls. If you'll notice, there's actually a trundle bed below, which is technically Ariana's bed. But at the moment, they wanted to share a bunk and since they are so little, it's fine by me. Sabby is my "magpie" and likes to collect things, so her bed is always full of stuffed animals and notebooks and hidden snacks (that I have to confiscate). We have white twinkle lights woven through the slats above the bed and it makes story time at night quite dreamy. We added some glow in the dark stars this weekend as well which the girlies love when the lights go out.
The girls share this dresser (that is in desperate need for paint and a knob upgrade... when I have some "spare" time- haha!). The bottom drawer is Sabby's, the middle is Ariana's, and Emerson opted for the baskets and mini suitcase for hers.
It works for us right now. We keep toys in the playroom and the girls feel a sense of ownership of their room without being overwhelmed.
And I hope that it will help draw them closer. My prayer is that my girls love each other for their differences, and that I can help their bonds grow strong.
Labels:
craft ideas,
family,
home,
inspiration
2.15.2013
Valentine's Gift
I think it must be every scrapbooker's curse to at least once have something spill all over one of their projects. I had a lovely layout all created with Julie's awesome sketch, but as luck would have it, my trusty cup of water was toppled over by one of my smaller companions all over my desk, and the main victim was my layout. :( Wahhh wahh! I'm in the process of re-creating it, and I'll be posting it later this weekend.
In the meantime, I do just happen to have another project I can show you today (thank goodness!). A friend of mine asked if I could make a gift for her to give to her husband for Valentine's day, using old photos of them. I was so excited to be able to help her out!
She gave me several school photographs to choose from, and I converted them to black & white to give them a more "timeless" feel (and so I wouldn't have to work to compete with the colors).
I covered a canvas in text wrapping paper I picked up in the Target dollar spot a while back, and then added a layer of burlap on top of that. A cardstock frame cut out with my Silhouette machine added an elegant contrast to the rugged edges of the burlap.
The burlap heart from the Lasting Love kit made a fun focal point, and an accent cut from corrugated cardboard added the right texture to complete the simple design.
I used cool office clips attached with two brads (and some hot glue for security) to clip up mini collages made from papers & labels from the Lasting Love kit and the photos on top. I wanted to keep the whole piece simple, shabby, and elegant, and I think I accomplished it. And now I want to make myself a piece just like it! Ha!
Labels:
craft ideas,
home,
Noel Mignon,
pictures,
scrapbooking misc.
1.12.2013
Subway Art and Bathroom Painting
I've been in project mode around the house lately. Reorganizing, decluttering... making the hosue "breathable" again.
I found a great, already-wrapped-in-burlap-and-framed cork board at the thrift store last weekend. I'd been planning on doing something like this anyways, so it was such a score. It's perfect for my necklace collection! I also got a paper towel holder for my bracelets, and moved all my jewelry from my bathroom to my bedroom. I love how it adds some functional decor to our room.
I also decided on a whim to paint the bathroom. It's never been painted and always just kind of been "blah." Since there are 6 of us and one bathroom, it definitely needed un-blahing!
Painting a room with littles running about means stopping often, washing clothes that got paint on them, giving snacks, stopping for hugs, and imperfect paint jobs. I'm ok with that. I figure painted imperfectly is better than unpainted ugly.
I added a candle in a sparkly jar on top of the shelving unit after I took this pic for a final touch.
This mirror was gold and has a hidden medicine cabinet behind it. It had already gotten paint on it from the previous owner so it was particularly glamorous. I like the white shabby look much better!
I created some new artwork for the bathroom with the NoelMignon Sweet Shoppe kit (still available!)
The subway art is inspired by this one but I made a few of my own changes to it to fit our family better. If you'd like a copy of mine, let me know and I'll email it to you! :)
Labels:
craft ideas,
faith,
family,
home,
Noel Mignon
1.02.2013
The last day of Christmas break....
I woke up, made breakfast, and then proceeded to open a hair salon for one pretty tangled up Our Generation doll. We did a fabric softener soak, then once her hair was dry again, spritzed some Windex on for shine. Her hair ends were still pretty rough (we've had her for a few years)... so we trimmed them off a la "Kit". That's how my morning started. Ha! (Emerson got American Girl doll "Molly" for Christmas, but she thought that her other dolls shouldn't be neglected and that Molly needed some friends.)
Upon instructions from the hubs, I thought that today would just be a chill out day... other than grocery shopping, there wasn't a ton that needed to be done today, so I thought - hey, I'll let the kids play, and I'll read some.
Ha.
This is only a small percentage of their mess from making a "track" out of books.
Tomorrow, we get back to the normal routine. MDO, school, homework, gymnastics... as crazy are our days at home, I will miss it. Even when I'm going nuts, I know deep down I will miss it. It's much easier to deal with this from the comfort of my own home. :)
10.09.2012
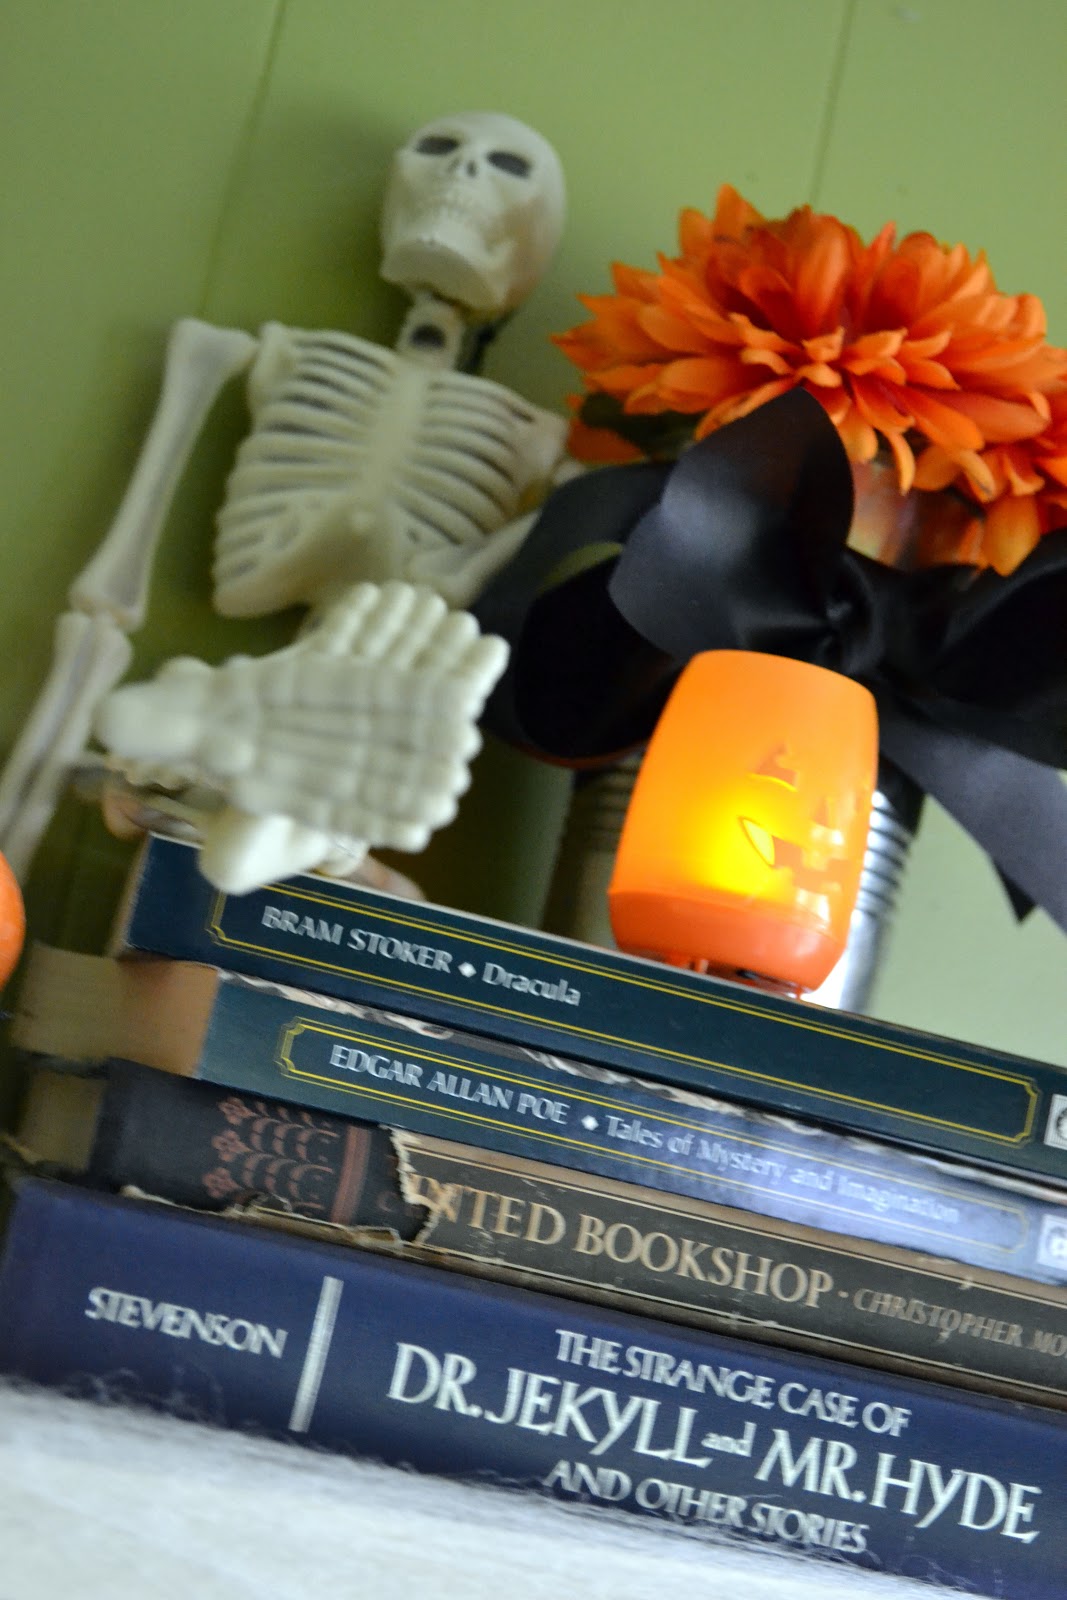
This is Halloween!
Just a few of our little Halloween decorations around the house... I have some more that I want to add, but who knows if I'll get around to it!

Labels:
home
9.24.2012
A frame re-do
My friend Kari Ann is getting married next month. We are so excited for her and are much involved in this big celebration (um, I'm doing her wedding photography- EEEK- and the kids are all in the wedding. It will be an interesting day to say the least! Hee!)
Last week, I made her and her fella a little gift for their home.
I found this frame at a yard sale... it had this "beautiful" picture in it:
I took it out and was left with this gold frame.
A little spray paint, some chicken wire, and some ribbon, and I turned it into this:
The kids added their own banner to it too:
They had some more frames like this at the yard sale, and I so wish I'd bought them all!
Labels:
celebrations,
craft ideas,
home,
inspiration,
pictures
9.14.2012
Brightening up the Bedroom with NoelMignon Kits!
How much do you love NoelMignon kits? Enough to decorate your home with them? LOL I do!
I love a bright, whimsical, happy look in my home, and my bedroom needed a few more touches of that.
The piece you see in the picture below was just a boring ol' nightstand, but with a little yellow and white Valspar spraypaint and primer, I was able to transform it quickly. One final touch of some My Mind's Eye paper and some Mod Podge, and it turned a regular piece of furniture to a custom boutique piece!
I added wiped on bits of espresso brown acrylic paint to act as a stain on the paint... I love that aged look.
If you've ever seen one of my kit review videos, you'll see the horrible eyesore in the background... an old brown bookcase with a clumsily tacked up curtain on it to hide the stuff set on it.
I got the organizing bug a week ago and headed to Target to get a few bins and baskets and frames.
The two teal frames were a set for $3 (college product clearance!) and I customized them with papers from the Evening Stroll kit- a perfect match!
This is SUCH an easy way to give a "big mat" look to a frame. Plus, it makes it way easy to change pictures out!
I added some letter stickers from the Evening Stroll kit and a small cut out heart on top of this picture to make it even more special. :)
My hubs and I always have a big mess of library books, so these baskets with Silhouette labels worked out perfectly to contain them, and look cute to boot!
I hope this gives you some inspiration for a few easy ways to make some seasonal or permanent changes to your home! You could adapt these ideas to Christmastime decor, or to a child's bedroom... the ideas are endless. :)
Labels:
home,
Noel Mignon
Subscribe to:
Posts (Atom)