So I've done it. I've jumped on the bandwagon and decided to do
Project Life.
After being on
Instagram for a while, several of my scrapbooking friends on there would be posting little updates to their Project Life albums. I was intrigued and I loved the artsy look to theirs... I had originally discounted the idea of doing Project Life because the main examples that I had seen looked really rigid and not really up my alley. Plus the whole idea of documenting every week of our life for a year?! That sounded OVER.WHELMING.
This is how I'm making it work for me.
1.
No fancy boxes of product for me... in other words, I'm not buying the pre-set Project Life products, other than some of the page protectors. I'm pulling from my stash of stuff. I have a drawer system for my PL, and one of my drawers is just for stuff that I'm going to use. So far I have the
Lily Bee Memento line and
Elle's Studios products in there, along with some
Authentique die cuts. My main plan is to use my NoelMignon kits each month. The
Cabin Fever kit is the perfect start to my album. Noel's kits are always seasonally appropriate, so I can make each month stand out in my album... I know how I am, and I will want a large variety of product in my album or I will get disinterested quickly.

2.
I'm keeping organized via social media...a large portion of my life is simply documented through twitter, facebook, and instagram. They are all, unfortunately, not very easy to search for. Enter
Memento, a journaling app. You can write daily entries, add photos, and most awesomely, import feeds from all your social networks.
Then you can go to your calendar, click on a day with a blue dot underneath....
And see your entries for that day. It has become a lifesaver for me, with scrapbooking in general, with my December Daily, and now with Project Life. I can very easily track what we did each day, photos snapped, and things we're interested in with this little app.
3. I'm not going to make this more complicated than it needs to be.
Last night I made my cover page for the album. I printed off several shots that we used for our Christmas card.
Culled a pile of goodies from the Cabin Fever kit.
Cut and laid out the photos/paper.
Starting adding some embellishments.
And slid everything into it's spot. I actually added some items on top of the
page protector for a little dimension.
And here's the final product. Simple, easy, and definitely my style!
Are you doing Project Life? Let's do this together and keep each other encouraged!
Please join me on the
message board and we'll keep each other going!



 My collection of
  I found this little wire basket at a yard sale and it hangs on the top of the baker's rack. I love stuffing it with fun odds and ends to use. Also, you can see my collection of spray inks. I think I might have 4 different turquoises. I have a problem.
  The second shelf holds some of my most used items. This basket pictured keeps some new little items, my
  I love this fun little metal basket. I bought it for .39 at the thrift store one day. It's great for storing twine. To the left are a few of my sketch & idea books that I paste stuff into. The photo box shockingly stores photos, and the plastic box stores embellishments.
  The third shelf holds these great
  The other one on this shelf has the older releases in it.
  Now, those of you who are super organized, shield your eyes, because I'm a bit ashamed of the bottom shelf. It needs some serious tlc (tender loving care, not the learning channel) soon! It's mix up of Ari's baby albums, a storage box of layouts that need to be put in albums, old NoelMignon kits, and all my other assorted pattered paper (in the itso bin). Oh, and the bag leftover from a class I taught last week. Need to unpack that soon. Ahem.
  However, I have a plan for those kits- this storage unit below! The drawers and cabinet are completely empty, so I plan to store those in there soon. Above that is a shelf with some other mini albums, a bin of adhesive products, a bin of paints, and a basket of punches.
 And here's where the magic happens... my dining room table. Crumbs and all. :)
 Oh, I almost forgot! In the playroom, we have two cubes stacked on each other on either side of a loveseat. In the bottom cubes I have old idea books stored, along with seasonal products for Halloween and Christmas.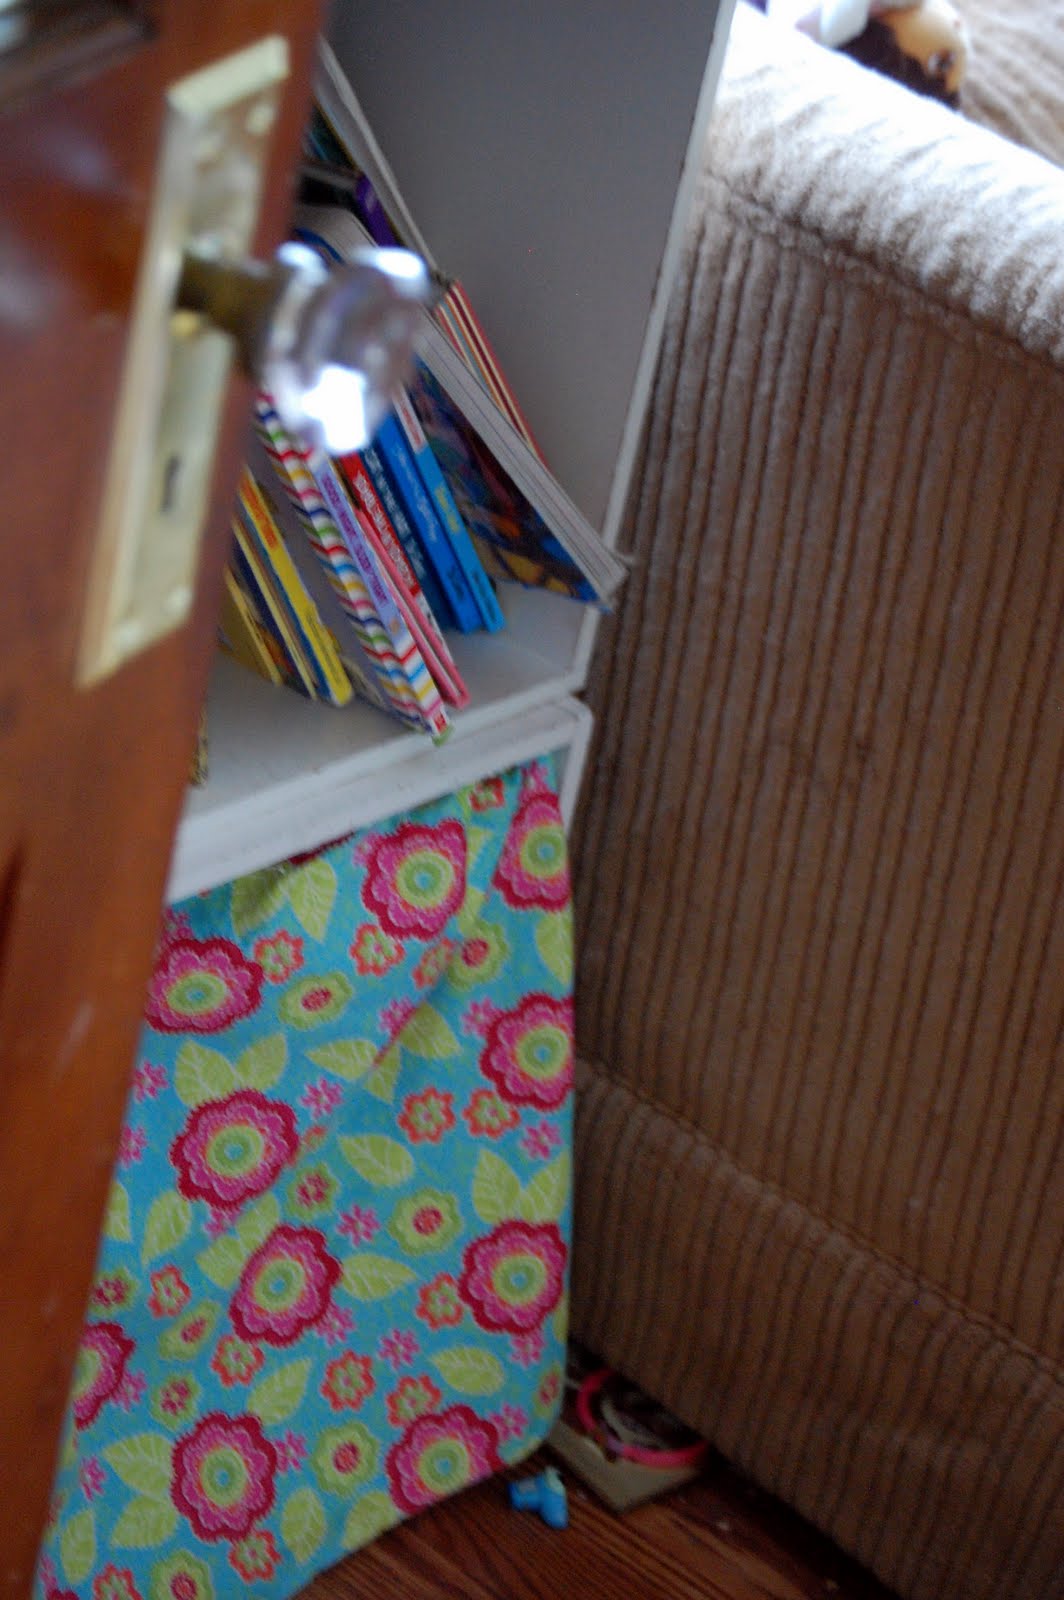
 The shelf has a 3 drawer organizer that holds my most recent Noel Mignon kit, some of my favorite alphabets, and most recent purchases. It's my go-to spot for scrapping.
  Below is an example of inside of one of the tins.... specifically the attachments. The foam circle holds brads on both sides.
  Here's the row of glitter stuff. I have two tins inside of the middle cubby to hold all my stickles.
  This is how I have them stored inside of the tin- upside down, nestled inside of a bed of beans.
  Next to the drawers is a little metal bucket I have sticker labels and rub-ons and bigger journaling things. (I also keep the kids' scissors hidden in the back of it for their crafts- but I don't like for them to know where they are for obvious reasons. Hehe)

