Basically, actions are a sneaky way to do all your editing with one click of a button. Someone else has edited a photo, for example: turned it black & white and sharpened it- and they "recorded" their actions of each step into one nice little bundle that can be "played" over and over on any picture. Make sense?
Let's try it out with a self portrait I did and my favorite actions, the free Pioneer Woman actions.
(And for what it's worth, PW has lots of free and easy tutorials on her blog, everything from photoshop to photography and understanding how your camera works- in really easy to understand language and small doses.)
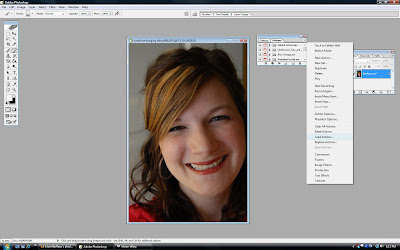
Ok, download some free actions and open up a photo in photoshop and we'll load those actions!
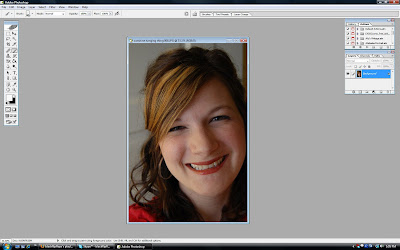
A browsing window will open ( I couldn't do a screen save of that one), and you'll need to find where you downloaded your free actions (mine usually go to my desktop or to the download folder) and click on it. It's that easy.
Then you should see in that little action window a set of actions call PW actions. Click on the arrow next to it to open it and show all the different actions.
Let's select the PW Black & White. You'll click on it, and then click the little "play" (it looks just like the one on your old VCR- a triangle pointing to the right) button on the bottom of the action window.
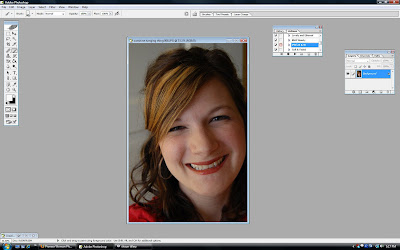
Photoshop will automatically start doing stuff- you just sit back and watch.
A window will open and it will say something along the lines of "play with the light layer, yada yada yada." Click ok or close, and then...
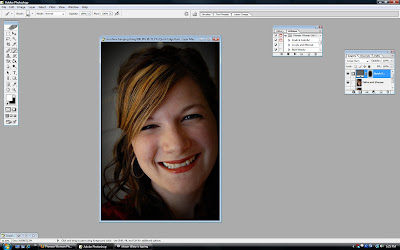
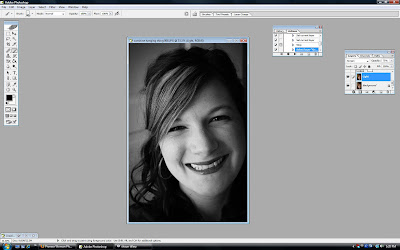 you will play with the light layer. You'll see it in the layer palette, labeled "light." You'll want to slide the opacity slider back and forth to see what it does. For different pictures it does different things. Here I slid it all the way to the right.
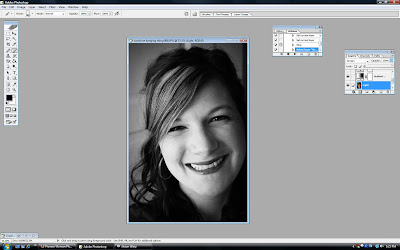 Then I slide it all the way to the left. You can see how much it affects the photo.
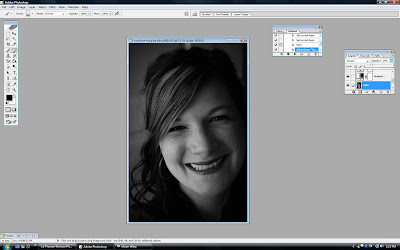 I really liked it at the pre-set of 75% opacity, so I put it back to that, then clicked "play" again to finish off the photo. Several windows may pop up, just click ok or stop for it to continue.
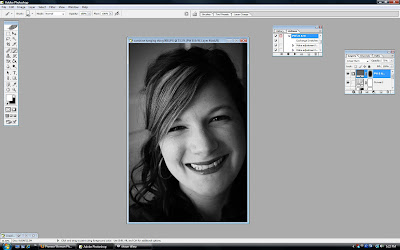 Once you are done, you can flatten the layers (shift+ctrl+E) and save it.
Behold, the before:
 And after:
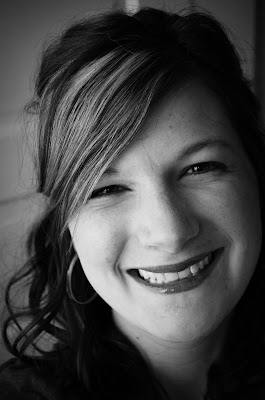
Here's another one of the actions on the same original photo- this is the "soft and faded" one.
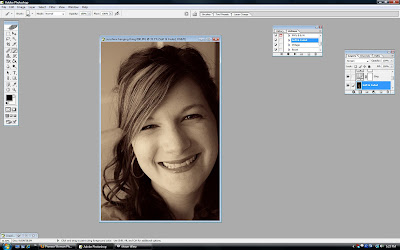 You can also combine actions, such as the "sharpen" and "quick edge burn."
 The Pioneer Woman has set up a Flickr group with people trying out her actions, you can see them here: Flickr Group.
 Please try it, it only takes a minute, I promise. Gretch. Oh woops . Heheh ;)
For those of you who want to try this in Elements, check out this link: click here! Or you can reproduce the Pioneer Woman actions in Elements, check it out here.
Leave me a comment & a link if you try this out with befores & afters, I'd love to see! I'm always happy to answer questions too. :) If I know the answer, that is. hehe


you are GORGEOUS! love the photo. i don't have photoshop - but one day i'll learn your cool tricks! in the meantime, i'm in awe!! :)
ReplyDeleteaccccckkkkkk i am so glad because i thought you couldn't do actions in PSE....YIPPPEEEE skipppyyyyy!!!!!
ReplyDeleteThank you, thank you, thank you for these tutorials. One of my scrappy goals for this year has been to learn CS and Elements 6 (since my laptop has Vista on it). I am lousy picture taker and figure my pics can you all the help they can get!!! You are da BOMB for taking the time to "keep it simple" for the digitally challenged like me!!!
ReplyDelete